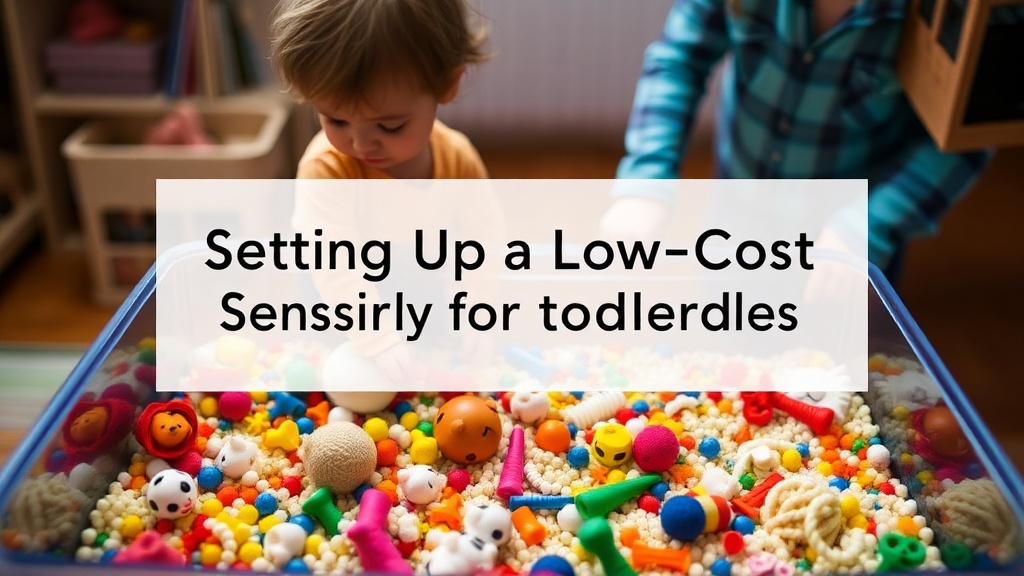
Setting Up a Low-Cost Sensory Bin for Toddlers

Are you tired of spending a fortune on plastic toys that end up at the bottom of the toy chest after ten minutes? Sensory bins are a simple way to provide tactile stimulation, develop fine motor skills, and keep a toddler occupied without breaking the bank. This guide walks you through selecting materials, choosing a base, and setting up a mess-friendly station using items you likely already have in your pantry or recycling bin.
What Are the Best Materials for a Sensory Bin?
The best materials for a sensory bin are edible or non-toxic household staples that offer varied textures and weights.
You don't need to buy expensive "sensory kits" from a boutique toy store. Most of the best textures come from your kitchen. Think about grains, liquids, and solids. A bag of dried white rice is a classic for a reason—it's cheap, easy to clean, and provides a consistent "crunchy" feel. If you want to get a bit more adventurous, try dried lentils or even oatmeal.
If you're worried about the mess (and let's be honest, there will be a mess), stick to dry goods. Dry goods are much easier to vacuum up than wet ones. However, if you're feeling brave, a water-based bin with a few drops of food coloring can be incredibly engaging. Just keep a towel nearby.
Here are a few categories of materials to keep your bins rotating:
- Dry Bases: Rice, pasta shapes (like Penne or Rotini), dried beans, birdseed, or even sand.
- Liquid Elements: Water, vegetable oil (for a different viscosity), or even shaving cream for a tactile experience.
- Nature Finds: Smooth river stones, pinecones, acorns, or even seashells from a recent trip.
- The "Add-ins": Small plastic animals, silicone spoons, or even old measuring cups from your kitchen.
Using different textures helps a child's brain process sensory input. It's not just about "playing"; it's about cognitive development. For instance, a child feeling the difference between smooth river stones and rough dried pasta is actually building neural connections. It's a tiny, messy science experiment happening right on your kitchen floor.
If you want to see how these activities fit into a larger developmental strategy, check out my previous post on how to create a play-based learning environment at home. It's the same philosophy—using what you have to build skills.
How Much Does a Sensory Bin Cost to Make?
A high-quality sensory bin can cost as little as zero dollars if you use repurposed items from your pantry or recycling bin.
Most of the "ingredients" for these bins are things you'd buy anyway. You aren't adding a new line item to your weekly grocery budget; you're just repurposing. A box of Barilla pasta or a bag of dried beans is incredibly inexpensive. Even the container—a plastic storage bin or a simple baking sheet—is something you likely already own.
| Bin Type | Typical Materials | Estimated Cost |
|---|---|---|
| The Dry Bin | Rice, Pasta, or Beans | $0 - $5 |
| The Nature Bin | Leaves, Stones, Twigs | $0 |
| The Wet Bin | Water, Bubbles, Food Coloring | $2 - $5 |
| The "Kitchen" Bin | Flour, Oats, or Spices | $5 - $10 |
The catch? (Wait, I shouldn't use that phrase—let's try: The reality is), the real cost isn't the money—it's the cleanup. If you're using flour, you'll be vacuuming for a week. If you're using water, you'll be mopping. I suggest starting with dry grains like rice or lentils to keep your sanity intact.
Pro-Tip: The "Tray" Method
Instead of a giant bin, use a rimmed baking sheet. It contains the mess much better than a flat plate, and it's easier to move to a high table or a high chair. This is a total lifesaver for parents of younger toddlers who haven't quite mastered the art of "gentle hands" yet.
How Do I Keep the Mess Under Control?
The best way to manage the mess is to use a large, deep container and set up the bin on a non-porous surface.
I always suggest a plastic storage bin from a brand like Sterilite or Target's up&up line. These are much better than a shallow tray because they allow for deeper digging. If your child is playing with rice, a deep bin prevents the rice from flying out onto the rug.
Here is my personal checklist for a low-stress setup:
- Location: Set the bin on a hard floor (tile or wood) rather than a rug. If you must use a rug, lay down a cheap shower curtain liner or a plastic tablecloth first.
- Containment: Use a bin with high sides. If you're using liquid, a deep bin is non-negotiable.
- The "Cleanup Kit": Keep a handheld vacuum (like a Black+Decker Dustbuster) or a damp cloth within arm's reach.
- Boundaries: Use a verbal cue. "The rice stays in the bin." It's a simple way to teach spatial awareness and boundaries.
It's also worth noting that some kids are more sensitive to certain textures than others. If your toddler is a "picky eater," they might also be a "picky toucher." If they recoil from the feel of wet oatmeal or cold water, don't force it. Let them observe from a distance first. This is a huge part of encouraging independent play—giving them the agency to engage when they feel safe.
Sometimes, the mess is part of the learning. A toddler learning that "if I dump this, it falls on the floor" is actually learning cause and effect. It's frustrating, yes, but it's also a developmental milestone. Just be prepared to clean up the aftermath.
If you're using materials like flour or cornstarch, be aware that these can be inhaled easily. Always supervise closely. If you're using items like dried beans, ensure they are large enough that they aren't a choking hazard for your specific child's age and development level. Most official health guidelines suggest constant supervision during any activity involving small objects.
If you find yourself constantly cleaning up after a toddler, remember that these bins can also be a tool for calming. A slow-moving, liquid-based bin can be quite soothing during a transition or a high-energy time of day. It's a way to ground them in a sensory experience.
Steps
- 1
Choose Your Base Material
- 2
Select a Theme
- 3
Gather Small Manipulatives
- 4
Set Up the Station